|
||||||||||||||||||

|
I believe there are two different mains transformers used with the Kit1. The PQ Signature uses an AudioNote TRANS-031. So, the colours of the lead-outs may be differ on some kits.
I decided to solder the mains socket and switch, rather than use the supplied spade connectors. Obviously, this is a much more fiddly way but I wanted to avoid connectors wherever feasible. The wiring shown is for UK 240v operation.
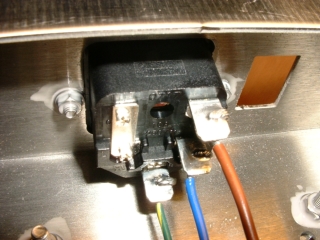 Mains socket soldered. |
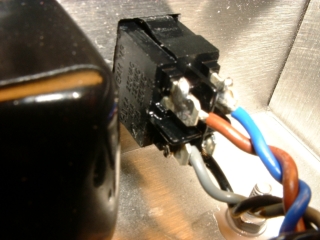 Mains switch soldered. |
The remaining primary tap leads were left to a re-usable length in case I find myself emigrating some time in the future.
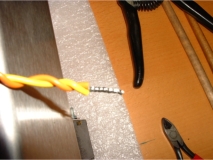 The correct primary centre tap must be joined for the correct country voltage. |
 The join is folded down and sheathed in heatshrink. |
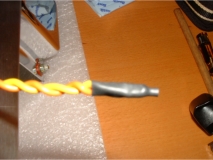
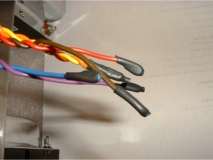 The remaining taps are folded and sheathed. |
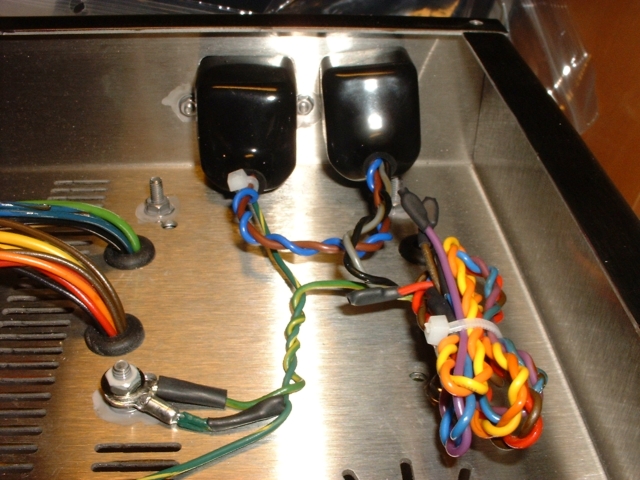
Shown is the completed primary wiring. You will also see the chassis earth. This should be the only place where the chassis is used to make a connection or connection made directly to mains ground.
You may notice from the pictures that all nuts bolts and washers get a coating of nail varnish.
This is an old habit of mine. It is to stop slippage over time. Why nail varnish? Well, you can
actually purchase dedicated screw lock but I, and others, have found that ordinary nail varnish
is actually better; the cheaper the better too. You may use clear varnish if you intend to display
your work; I however like to use coloured varnish so that I can easily see where I may have missed.
NOTE: Do not coat the bolt that is to be used as an earth post until the earth connection has
been finalised - a good electrical connection is required first.
|
|