|
||||||||||||||||||

|
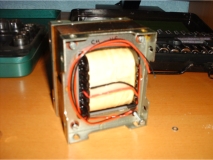
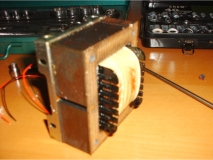
The first major construction step was to fit the stainless steel shrouds onto the mains transformer and choke. I was expecting this to be a difficult step as you have to separate the existing frames from the laminates that had been varnish impregnated together. It turned out to be pretty straightforward however.
The choke's frame simply sheared away with the turn of a screwdriver. The mains transformer required a tap on the end of the screwdriver, but only a small one.
 Choke before fitting shroud. |
 One frame removed. |
 Shroud now fitted. |
 Mains transformer before fitting shroud. |
 Both frames removed. |
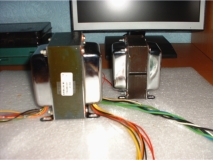 Shrouded mains transformer and choke. |
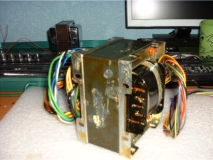
Now it was time to fit the mains transformer and choke to the chassis. The choke was no problem at all.
The mains transformer is a little more fiddly however. The leads from the transformer come out from three different positions that also correspond to three different holes in the chassis (through grommets). One of these wire clumps is quite difficult to get through the hole. The manual suggests the optional use of some WD40 to aid this. I managed to do it without using lubricant but did have to use a long, thin instrument to poke the very last wire through.
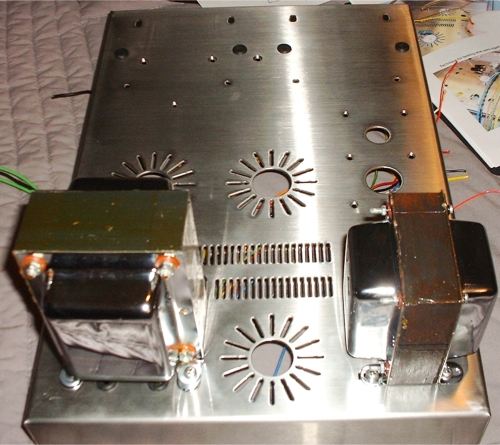
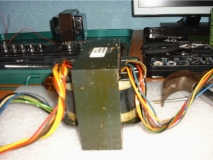
I decided to leave the output transformers for now due to their size. I didn't fancy the extreme elevation that I would get when laying down the chassis to work on it from the back (not to mention the weight when turning it over etc).
|
|