|
||||||||||||||||||

|
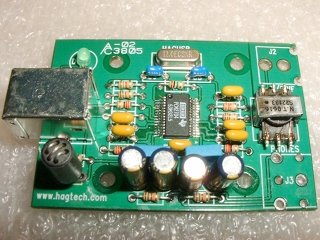
The USB board is an optional extra for this kit. It is actually a kit from a different company but space has been made for it inside the chassis and a slot made in the back panel that will accept the USB plug.
It is normally supplied ready-built when bought with the DAC 2.1 kit. However, in my impatience to get the DAC, I asked for it in its raw form so I could get it a little faster. So, it was supplied to me as a board with a surface-mounted IC already soldered onto the board.
|
|
|
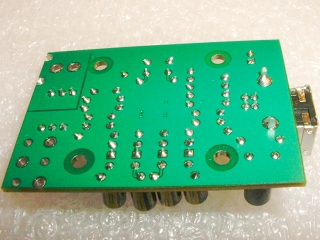
This is a very small board measuring in at approximately 4cm x 6cm so the board pads, and components, are very small. I normally use a very fine tipped soldering iron but during my last project it disintegrated so I've been using a larger tip ever since. Building this board with the larger tip required good timing, concentration, and a bit of experience.
|
|
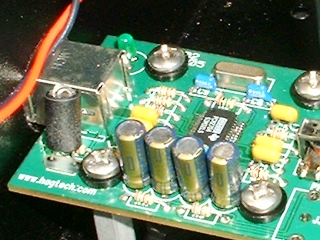
Once the board is built, you can test it to a certain degree without connecting it to the rest of the DAC. It takes its power from the computer so, once plugged in, the LED should light up and the computer (my Windows XP machine at least) should recognise it as a USB Audio DAC and let you know that it has been detected as such.
|
|
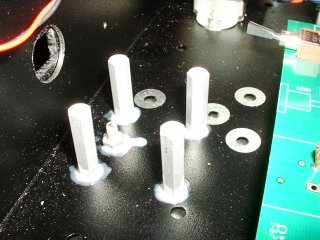
The board is suspended on four pillars while its USB connector fits through the hole in the back panel. I recommend that you use thin insulated washers both on top and under the board. Although there are no bare tracks to short to, there is always the possibility of shorting while tightening the screws that hold the board down.
|
|