|
||||||||||||||||||

|
Two sheets of wadding are provided with the kit (one per speaker). The wadding itself is very like cotton wool (which was bad news for me because I hate the feel of cotton wool).
Audio Note's philosophy is to use a minimum of wadding in their cabinets and not to attach the wadding - it should simply be formed inside the cabinets in such a way that it will remain in place.
Each sheet measured approximately 52-inches x 35-inches. It has to be cut in a certain way. The diagram below shows how they should be cut:
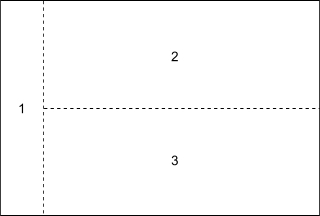
First, 30-grams has to be cut off. In my case, it worked out that 7-inches cut as shown at point 1 in the diagram worked out at exactly 30-grams
This 30-gram piece should be put to one side until later, as it is placed between the woofer and the crossover later - when the woofer is fitted.
Next, the remaining sheet is cut length-ways to produce pieces 2 and 3.
One of these pieces will be used at the top of the cabinet and the other at the bottom of the cabinet.
Installing the top portion of wadding
Take one of the available pieces that you have cut (i.e. piece 2 or 3) and lay it on the floor. Next, take each of the long edges and fold into the middle as shown in the pictures below:
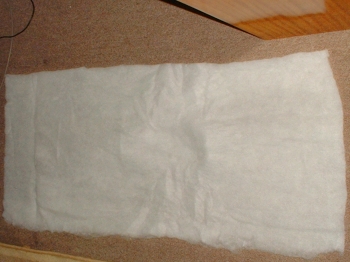 One of our cut pieces ready to be folded |
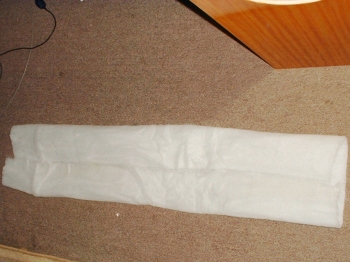 Now folded and ready to be placed inside the cabinet |
The top wadding should be placed inside the cabinet with the two flaps facing downward so that the wadding can be effectively unfolded once inside.
I found the best way to do this was to fold once again, this time end-to-end. Then put your hand inside that fold and push the wadding through the woofer hole and up to the top of the cabinet. Once there, put your other hand in and slowly move them both outward into the corners. The ends of the wadding can rest on the brace at each side of the cabinet. Then you can open up the fold that was made (shown in the picture above) and bring each flap to either the front or back of the cabinet. This structure should now be pretty self sustaining and stay in place.
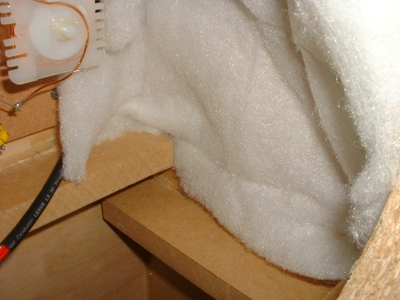
Above, you can see how the wadding is resting at the side of the cabinet.
Installing the bottom portion of wadding
Exactly the same principle is used to fit the bottom part of the wadding.One special note, however, is that you must ensure that the wadding does not obscure the end of the bass port. I placed the wadding under the bass port and pushed the folded part to the rear.
Now, the main part of the wadding is complete - this is now to be repeated for the other cabinet.
Remember also that there are still two pieces of wadding left over (one per loudspeaker) that will be used later when the woofers are fitted.
|
|