|
||||||||||||||||||

|
Now it was time to fit those huge output transformers that come with the PQ Signature version of the Kit1.
I had decided to go with the copper transformer covers (these come at an extra cost). As well as looking good, they also theoretically improve low frequency resolution and distortion. This is because, being non-magnetic (unlike the standard frames), they do not short out the air gap which is a very important part of the design of such transformers. If I am correct in saying, the air gap is needed to compensate for having a DC voltage across the primary as single-ended designs have.
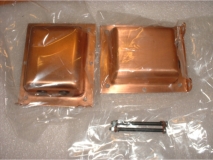 The copper covers, in separate bags to avoid scratching. |
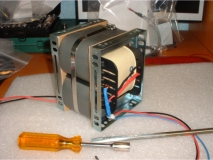 We need to remove the existing frames. |
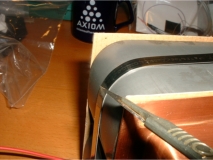
 Tape up any exposed enamelled wire that could cause a shorting problem in the future. |
 |
 |
 |
|
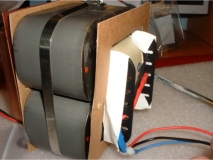
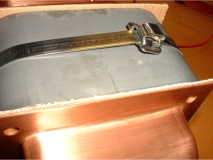
It is important to fit the covers in an upright position, on a flat surface before finally tightening.
I then used a scalpel to cut the cardboard as close to the edges as possible.
|
||
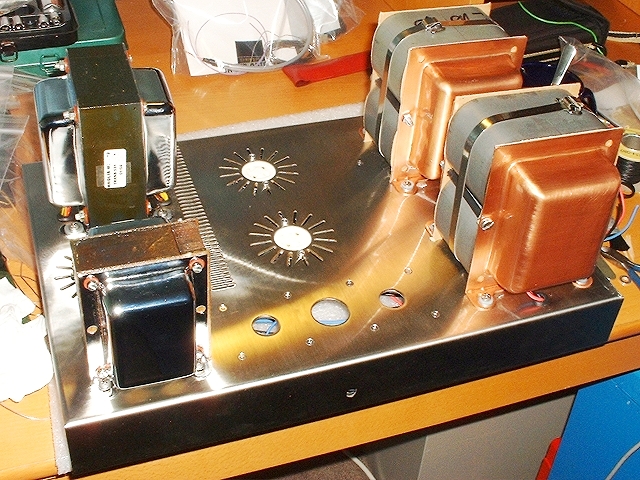
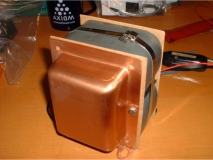
Once the covers are fitted, the transformers can be finally secured to the chassis. This is pretty straightforward - other than being a bit of a juggling act, due to the weight involved.
|
|